
This are the nails I had during this Christmas.
I applied a red polish as a base, then I added some silver stripes and glitter. To end the design I added some silver stars.
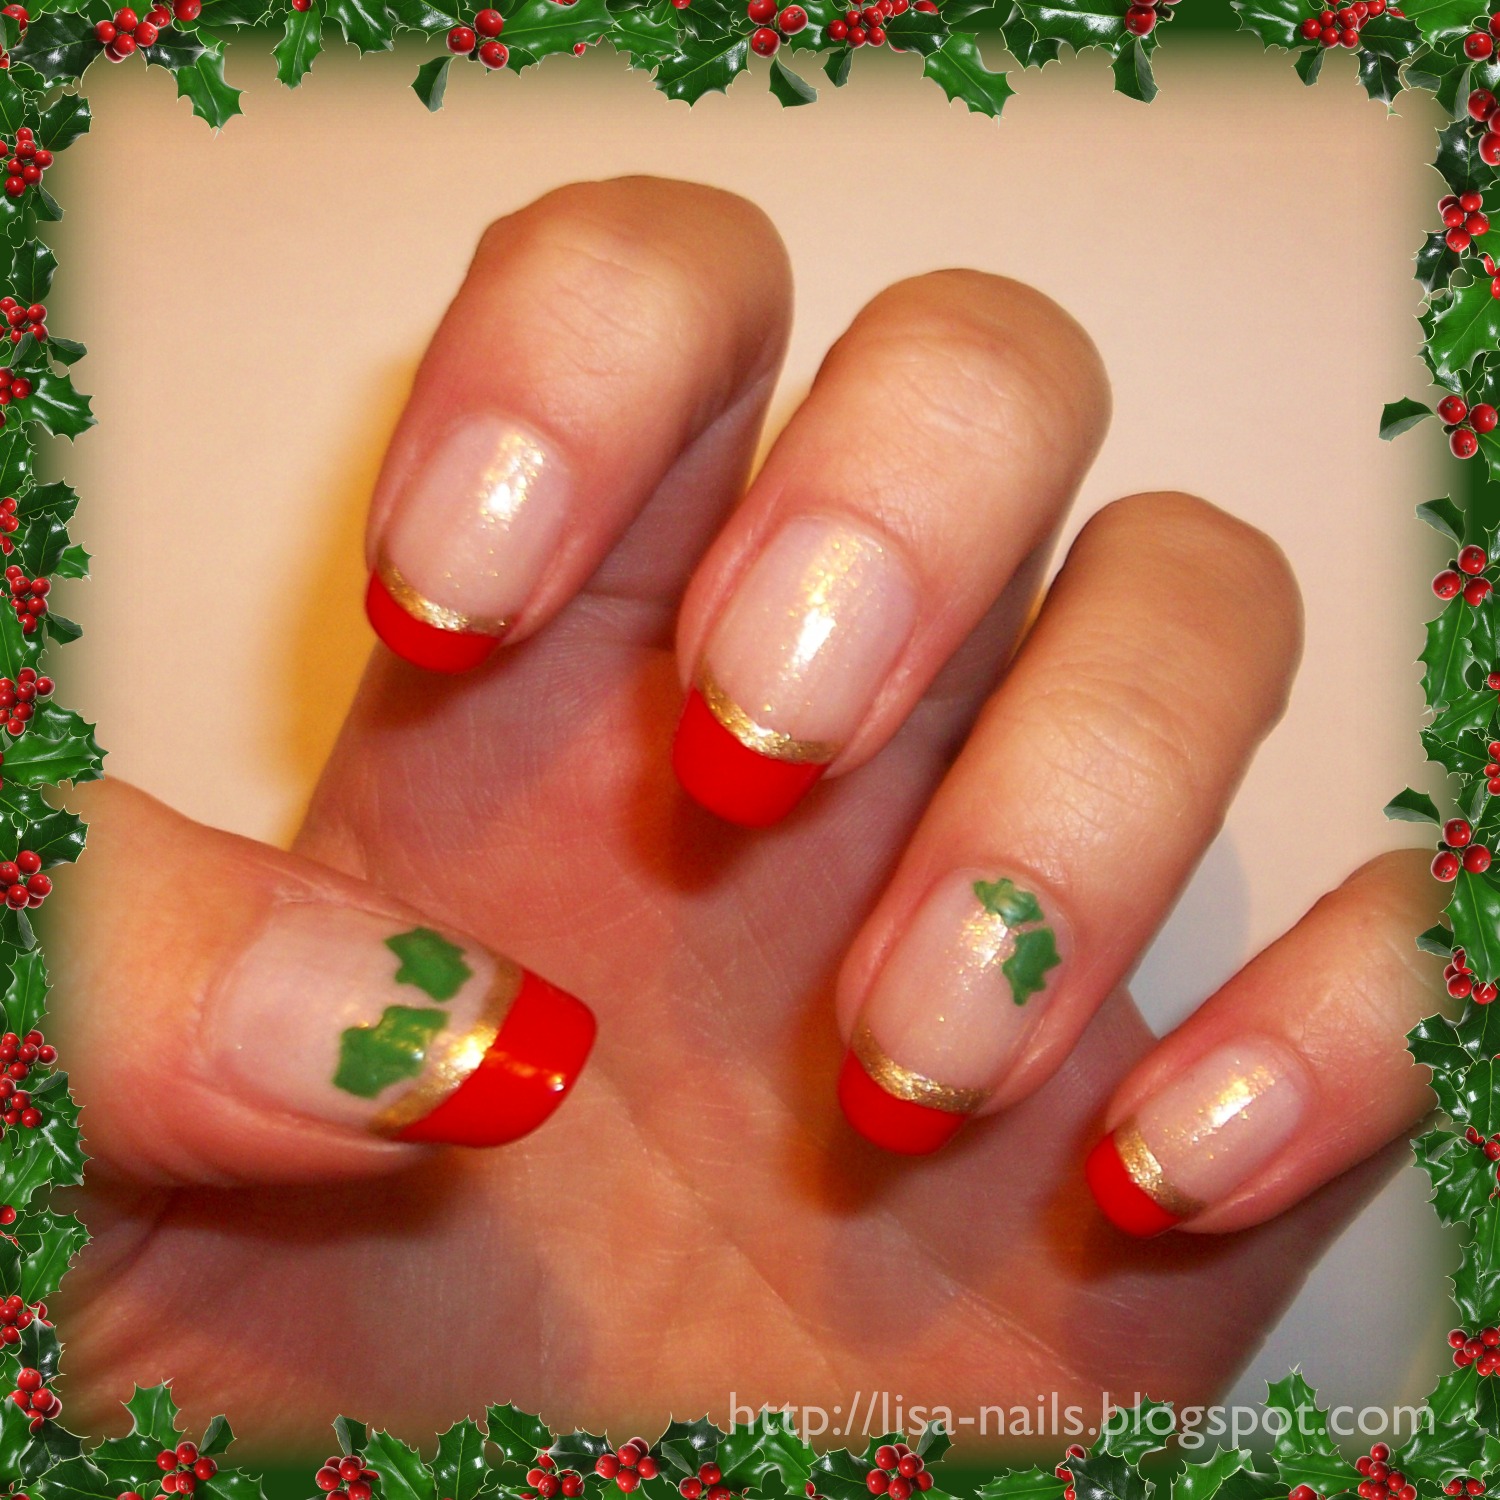
{in the pictures my hands are wet...!}

As a bonus some pics of my Christmas!


This are only the appetizers!! Yummy!!!


 Apply your base coat.
 Apply a nude polish.
 Use the head of the needle to draw Santa's hat and beard.
 Add some details. Use the needle to make two dots for the eyes. Use some silver flat glitter to make Santa's nose and the hat detail.

 Apply your base coat.
 Apply a coat of white polish.
 Use the head of a needle and apply a light green polish, before it dries apply the darker one.
 Use the thin brush and a red polish to draw the details of the wreath.
 Add some gold and red flat glitter and apply a glitter polish.


 Apply your base coat.
 Paint the tip with white polish.
 Apply the pink polish for french.
 Put on a top coat and with a toothpick apply the flat glitter alterning green and red. Apply another coat of top coat.


 Apply your base coat.
 Apply a white polish.
 Use some tape to cover the borders of the nail. Leave a big "V" empty. Cover the "V" with a light green polish. When the polish is dry, remove the tape.
 Use a darker green polish to delineate the tree and add some shadows.
 With a silver polish draw some lines on the tree. Add some silver glitter. Repeat the same process with the red polish.
 Use the head of a needle to make some white and red dots.
 Use the silver glitter polish on the white at the sides. Apply a silver star at the top of the tree. Apply your top coat.