Another sister NOTD.
She was wearing this nails when had her driving licence test and she passed it so these are LUCKY NAILS!
It's a bit weird to see her drive since in my eyes she is still my little "child" sister, I hope I will get used to it!


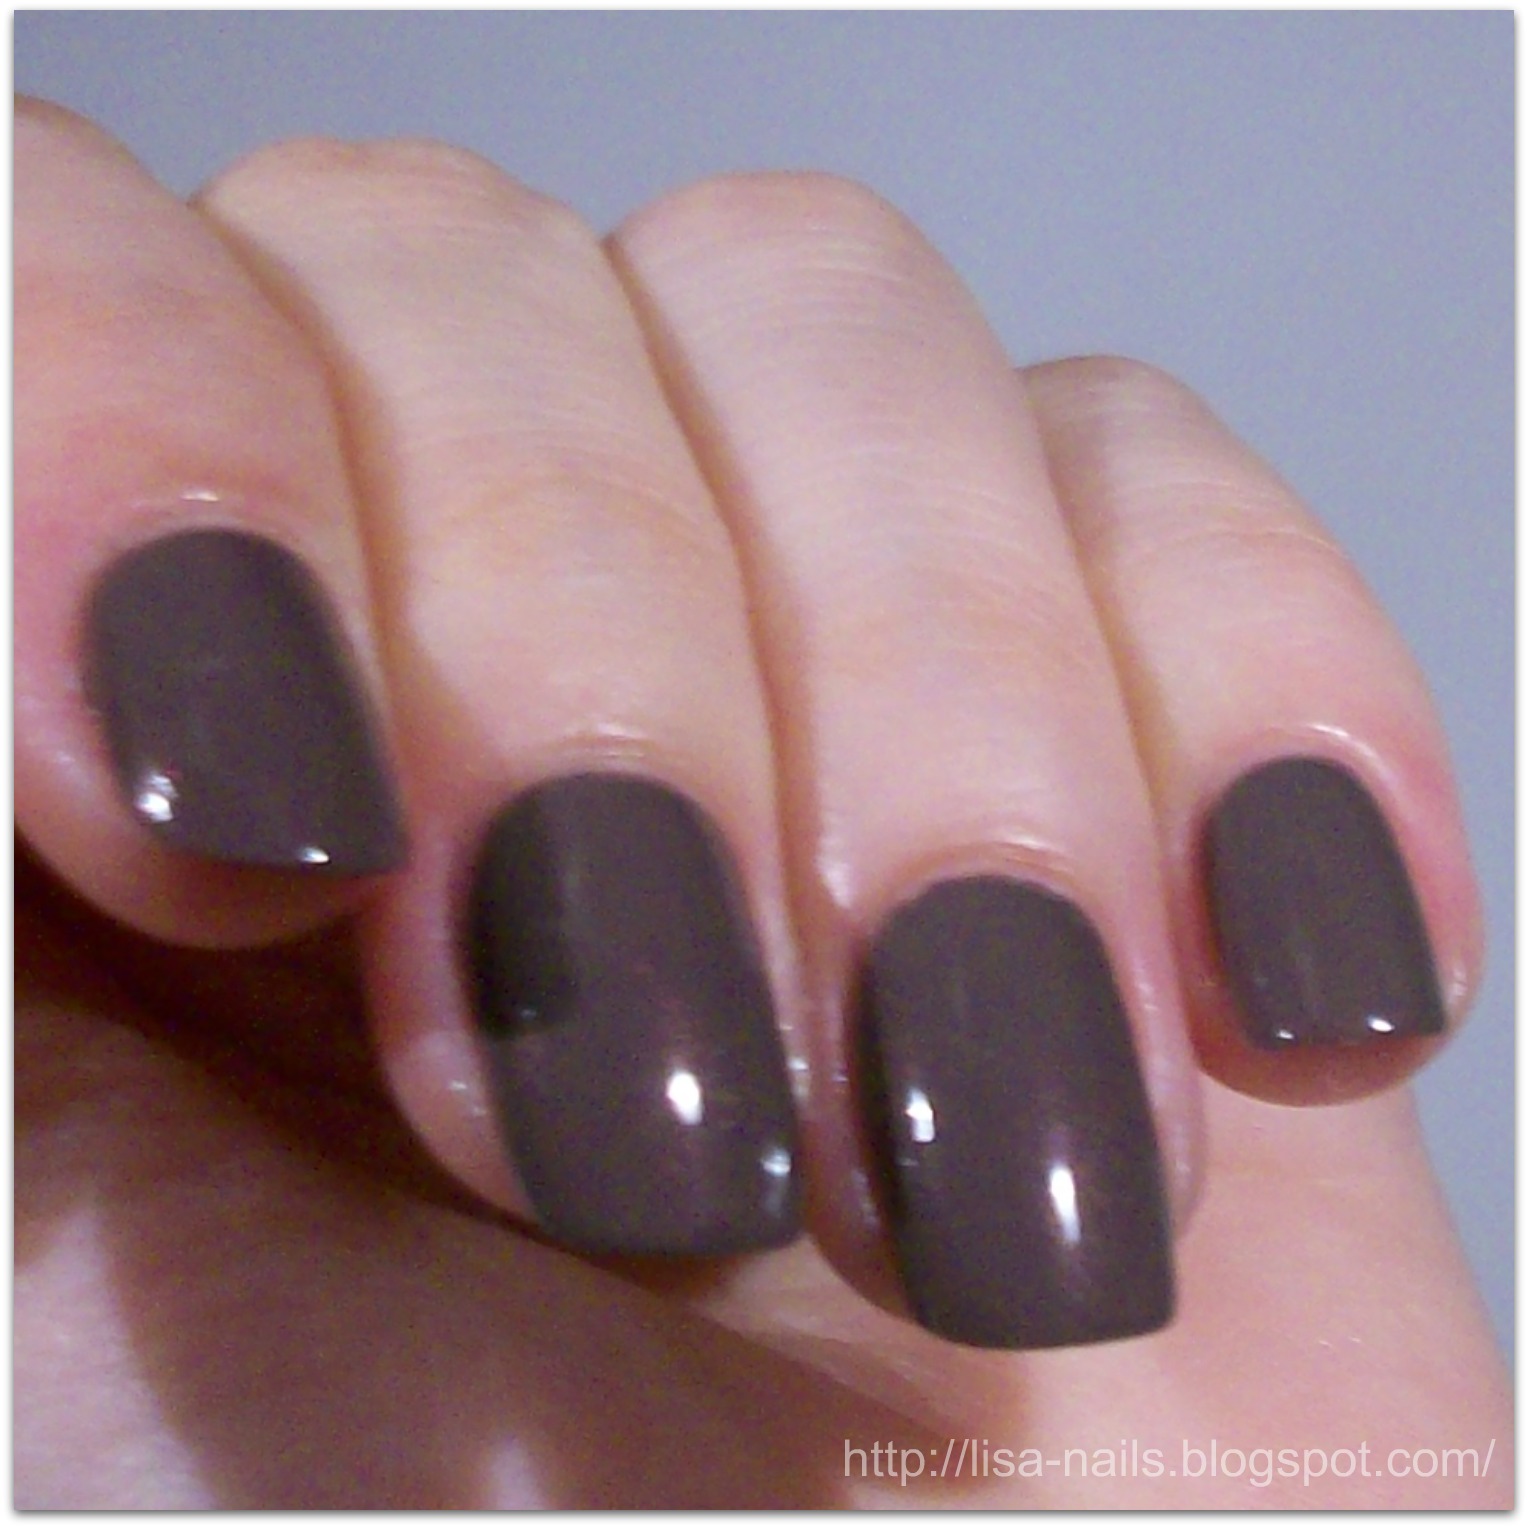
 This is a brown color with some red glitter. It’s called “Melanzana Glitter”. In english “Glitter Egg-plant”. I don’t understand why it’s called like that, isn’t the egg-plant more violet? Well, it’s a really good polish, it last for a long time but it’s a bit expensive! (€ 11.90 if don’t remember wrong).
What you need: a thin brush, a needle.
Colors:
 Apply your base coat.
 Apply a dark brown. Apply a second coat if needed.
 With the thin brush and the gold polishes draw some lines. They don't have to be perfect. Add some glitter if you want.
 With the head of the needle draw some white dots. They have to be small.
 With the head of the needle draw some dots, red this time, but don't cover the white ones completely. When PERFECTLY dry apply your top coat. (Since in the dots the polish is concentrated it may take a while to dry, be sure to wait or you will ruin everything.)
__________________________


 Apply your base coat and then a yellow polish. Use a light yellow, it doesn't have to be too intense.
 With the thin brush draw some lines with a gold or brown polish.
 Add other lines using the orange and dark red polishes.
 With the head of a needle add some white dots.
 Add some more dots using a red polish. When PERFECTLY dry apply your top coat. (Since in the dots the polish is concentrated it may take a while to dry, be sure to wait or you will ruin everything.)


Soon I will make some Halloween inspired nail arts so stay tuned!
What you need: some rhinestones.
How to:
 Apply your base coat.
 Apply your nail polish. If needed apply a second coat.
 Here is the color outdoor. This polish is a wonderful brown with a "reddish" reflex and is super difficult to make it come out good in a picture.
 When the polish is dry apply some rhinestones. I used this ones that were already in that shape but If you use single ones you can make whatever shape you like. Have fun!!