Showing posts with label Finger Paints. Show all posts

Friday, November 12, 2010

How about some holiday manis..........

I finally got Meet Me Under The Mistletoe. I had seen some swatches, and fell in love. After trying it out myself, I'm hooked. This really is such a pretty green! Then I decided to go crazy with the layering, lol.

Here she is all by herself.


Then I decided to add Finger Paints Holly Good Time over top. Doesn't get much more festive than that.


Since I was so in the mood for layering, I went and grabbed my Sally Hansen Hidden Treasure. This made it much more Fallish than holiday, IMO. I actually kind of liked it.

Thursday, September 23, 2010

How to : My French, Funky French and Other Nail Designs

Many times while on MUA, I will post pictures of nail designs & TONS of funky frenches. I often get asked just how I do it. So here is my step by step for you guys.

Here is the mani, I will be showing you how I did.
The colors I used are Finger Paints - Tough Art to Follow & Savvy Green with Envy.


First you paint your base color, this can be ANY color you want. You need to make sure it dries though.


Then, I take scotch tape, and stick it to my palm. You will see later why I prefer scotch to painters tape. I stick it to my palm, so it takes away some stickiness, and doesn't pull up the base color.


Then I tape it onto my nail, in the desired design, here it is my diagonal design.
If you notice since the tape is clear, I can tell whether or not it is completely taped down correctly. So I don’t get any leaking underneath the tape. This is what it will look like –


Once you have it right, you paint your nail the other polish color –
Remember to do 1 nail at a time, otherwise the 2nd polish can dry to the tape, and pull up.


Once you're done, painting the nail, just slowly pull the tape off. Then do this to the rest and Ta-Da, you’re done.


I hope this helps, and is easy to understand. I'm not the best at explaining the process. If you look back at some of my past manis, you will see I use this technique a lot. I love my funky frenches, and for them, you just tape the nail off, leaving the tip open and free to paint the color of your choice.

Monday, September 20, 2010

Random Swatches

I have been noticing just how many polishes I have that don't get used. It's kind of sad. So lately I have been just grabbing a few at a time, and swatching them.

This is a polish I got from Forever 21, and it's just called Magenta/Black. This is 3 coats, and it's amazing!


I am in love with this polish, and the pics of it. It's so glossy. This is Finger Paints Tough Art to Follow.


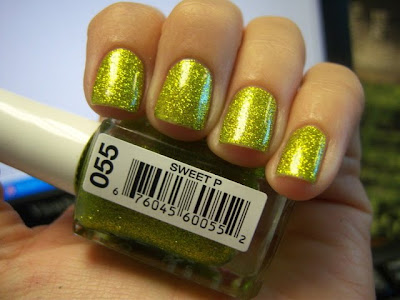
Here we have a Hard Candy called Sweet P


I picked this up on clearance, I'm a sucker for sales.
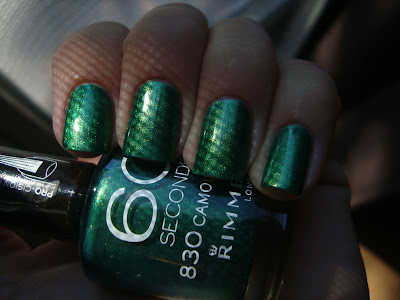
Camouflage


Twinkle, I am loving the gold shimmer in this.


Iced Merlot, over black. Do you see the amazing shimmer in this?!?!?!


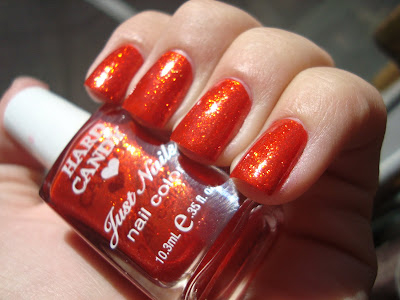
Another Hard Candy, Lava


and here it is, of course, layered over black

Okay, off to get more together ;P

Thursday, September 16, 2010

NOTD - Finger Paints Sapphire Shimmer Funky French

Today, like many other, I decided to do another funky french, sorry, I can't help it, I love doing these. I started with 1 coat of my usual Black on Black, then did 2 coats of Finger Paints Sapphire Shimmer. It's a very holo blue glitter.


Then I added my black tips, using the same black as before.